I remember bringing home my babies from the hospital. The excitement and thrill of welcoming them home, staring at them for endless hours, with “heart eyes” and bliss. It lasted for exactly 1 hour and 4 seconds until they were pooping through their outfits, screaming to be fed, and the work began. Even though we’d taken classes, read books, and been as prepared as possible, there were many things for which we were unprepared, confused, and downright frustrated to experience.
And so it was with our lovely new Shinin Brite. The great excitement brought on by the beauty and thrill of her quickly transitioned into the reality of the work that needed to be done. The second we pulled into the driveway, we started making lists of everything that we wanted to do to get her ready for our upcoming trip, 3 weeks away, and the work began.
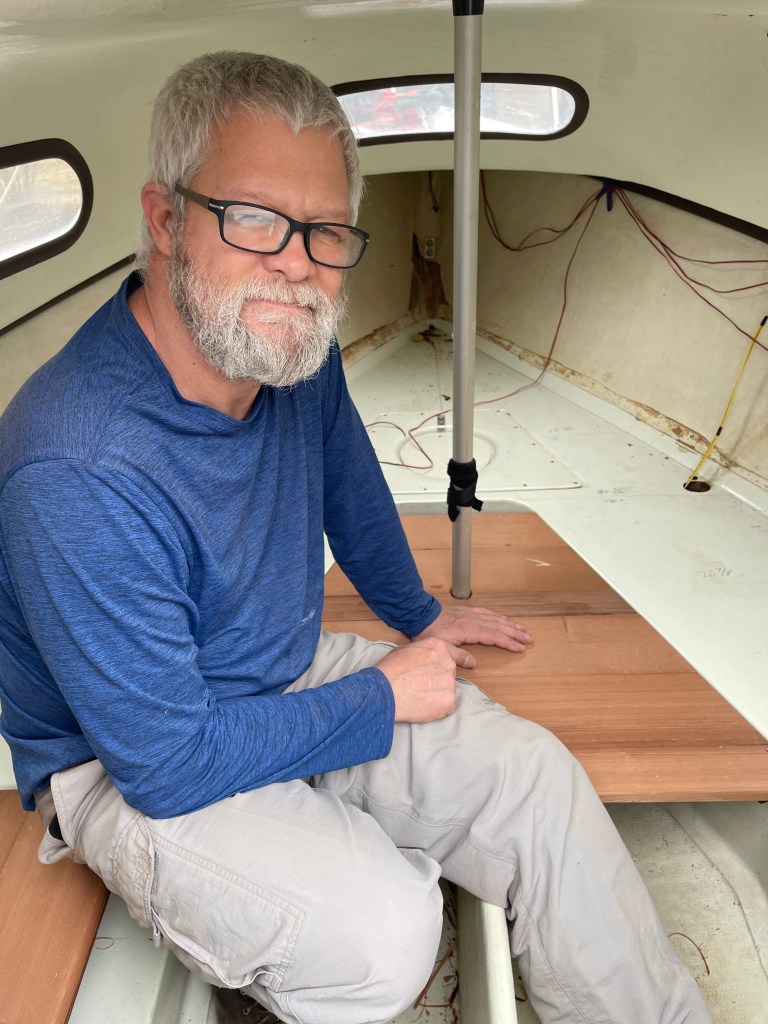
As I’ve mentioned before, Shannon is very knowledgable about building things. His work with building National Park museums provided the experience in working with every kind of material imaginable. He can fix anything.
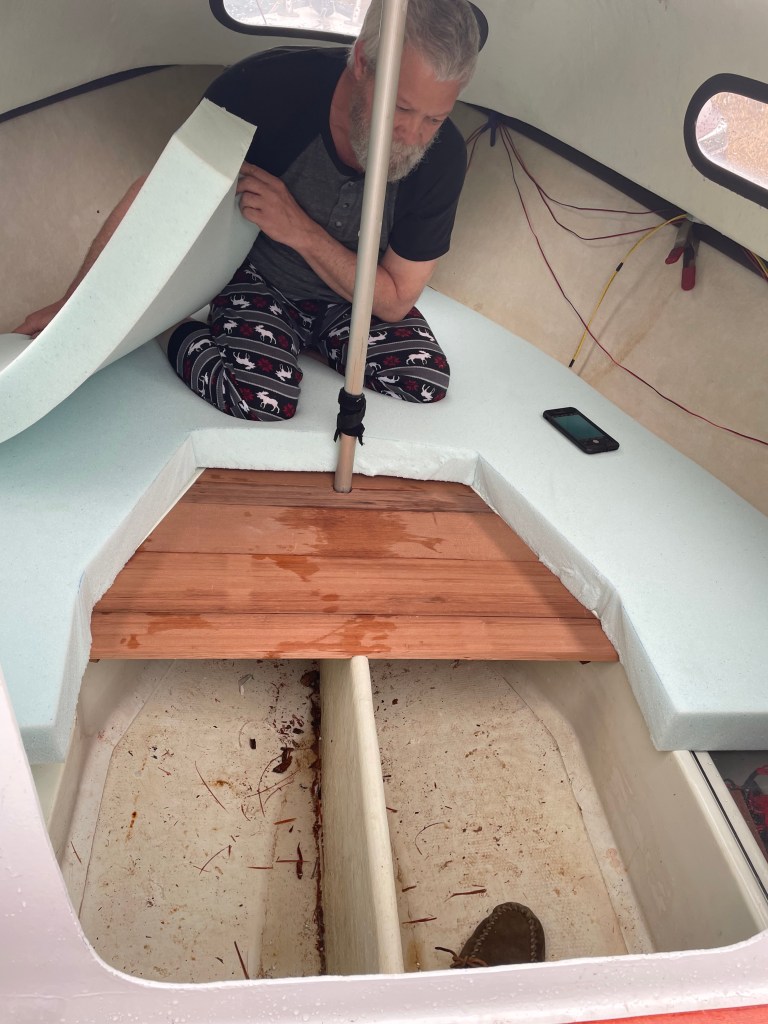
We wanted to be able to sleep inside the small cabin. Shannon found a YouTube video of owners of a boat just like this one, who have themselves outfitted pretty perfectly. They’ve obviously spent a lot of time and effort ( much longer than 3 weeks) getting the interior just like they want it. I’ll share it here so you can get an idea of what we’re after if you’re interested:
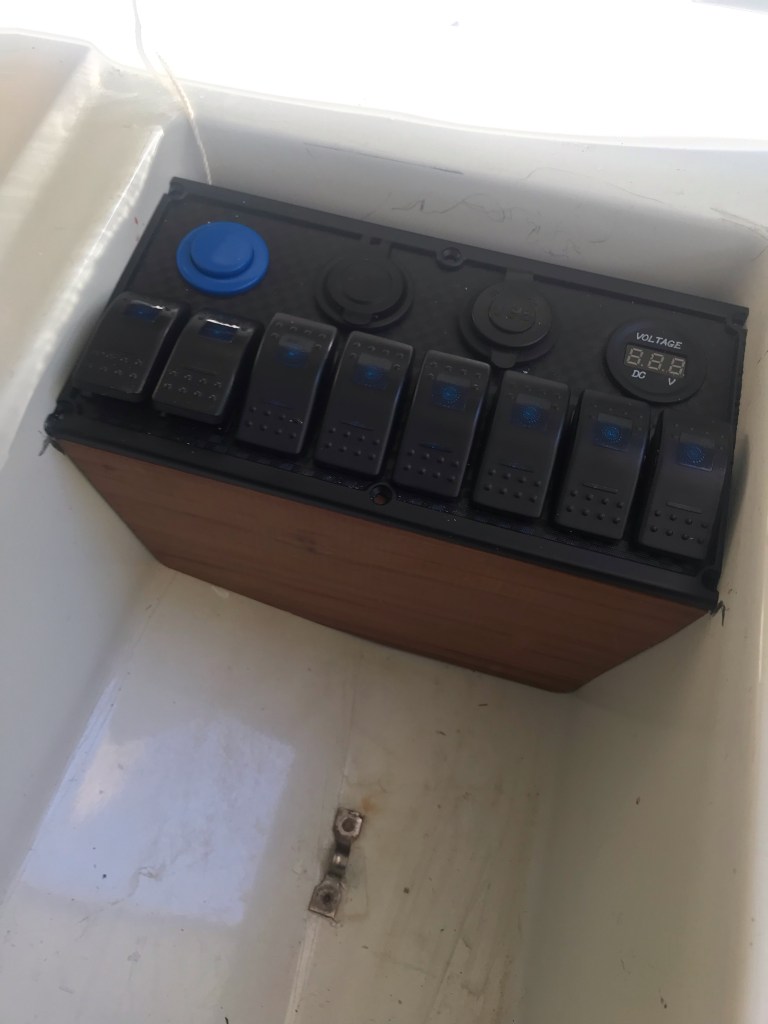
So once he got her all wired up, Shannon headed to a local lake while I was out of town. He got to the marina, and got the mast set up and immediately realized that the mast was leaning to one side. This was not good. He got a good look around it and realized that some time in the past, someone had rigged a wire through the fiberglass of the cabin roof, which had let water seep into the wood that held up the mast, which was now rotten. He came back home to re-group. His workshop is absolutely packed with every tool, every kind of equipment, and also every kind of fix-it concoction. In this case, he decided to use some kind fiberglass resin. (* Side note – I’ve never heard of it)

That weekend he sent me a text that said, ” mast light is up. Foresail is up. Mattress is laid out. Lights are disassembled and cleaned. Electrical panel is wired. Pins are replaced (they hold the rigging in place). Old toilet is out. Furler is installed.” I knew what most of that meant…..
The next weekend, I bought a bucket full of cleaning supplies that I’d read about and watched another you tube video about “how to clean your boat”. Since I have zero training or knowledge about fixing anything, I assigned myself to the cleaning and waxing
Evidently, one is not to use “household cleaners” on a boat. No bleach, or dawn, or joy, or Ajax. NO de-greasers or “salt away” which break down wax. By the recommendations from the experts, I bought Orpine wash and wax soap, (which is to be diluted in a bucket of water) and washed her down. It’s preferred that you use a “soft towel” and not any kind of brush that will scratch – so of course we brought brand new microfiber towels. As she looked like she could use a good wax, I made a trip to Wal-Mart for some. I had NO idea what to get, but after standing in the aisle and reading all of the labels, I got some Megular’s Gold Class wax. I didn’t see any that was just for marine use – so I’m SURE I’ll find out later that this wasn’t right. But it was what I had to work with so I went with it. She took 2 coats and could have probably used another but I was SO sore by this time that it was all I could do. My mantra the entire time was “wax on, wax off” picturing The Karate Kid, Ralph Macchio, and Mr. Miyagi. *Side note – I just looked it up and that movie was in 1984. Is that now considered an “old”movie?
Anyway – the other products I bought and used, by recommendation from the experts, were ; Purple power for the floors, Marine Dry hydro pearl Sio2 Coating to top off the wax, Sio2 bead maker coating for the chrome, and 303 protectant for the seat cushions.

The cabin door that comes with this model, is made of 2 fiberglass panels. They can be easily removed from the exterior, but are not easy to work with from the interior. They slide in and out of the wooden pieces at either side of the door. The fiberglass panels have a latch at the top so that the cabin can be padlocked if needed. Also may be helpful to use if it’s not hot outside, to stay warm. As we were traveling to much warmer temps, and as we live in warm temps, the canvas flap is a good idea for us to keep it cooler inside the cabin. Shannon treated the canvas with something to make it waterproof. He installed snaps on the roof of the cabin, that he hammered the opposing pieces into the thick canvas fabric. I have a sewing machine and I know how to use it a little bit. He cut everything out and just told me where to sew. I would have had to have had a pattern to make this door. It fits perfectly and it also looks great.

He wanted to get a tent-like tarp to be able to put over the boom in case it rained, or in case we needed sun shade in the open cockpit. We had a huge ground cover made of nylon that is similar to what is used for camping tarps, and we decided to re-purpose that to make our own boom tent. Shannon cut it out, with a curve to the horizontal edge so that it could be tightened down and so that there was room to let wind pass through. Again, he told me where to sew and I did so, and it turned out great. He made the bag for the sails from the left over ground cover fabric. He even installed a rope drawstring at the top of the bag.
Before we got ready to leave for our first sailing trip in the Shinin’ Brite, the last list he sent me was this: 1. Rewrite panel. 2. Cut/install hinge. 3. Mount swim ladder. 4. Buy throw ring. 5. Stop leaks. 6. Clean well. 7. Build mast stand. 8. repair mast step. 9. Wire mast light. 10. Buy reel (fishing) 11. Get fishing stuff together 12. Get cushions 13. Get PFD’s. 14. Anchor alarm 15. Straighten rigging. 16. Check bearings 17. Brake lights on trailer 18. Mount heel gauge. 19. Cut polypropylene. 20. Air tire 21. CAC card 22. Water container 23. propane tanks for stove 24. Sail dogs. 25. Beach chairs 26. Diver down flag.
We (meaning he) miraculously, in only 3 weeks time, got the list done, and we set out on our trip on March 4, 2022.

Excited to tell you about our trip coming up next!

That’s so exciting to hear that you’re almost ready to hit the water and take your first trip!! I’m sure it’s been a lot of work, but it sounds very rewarding.
LikeLiked by 1 person
We had an amazing trip! And yes, well worth the hard work to get it going !
LikeLiked by 1 person